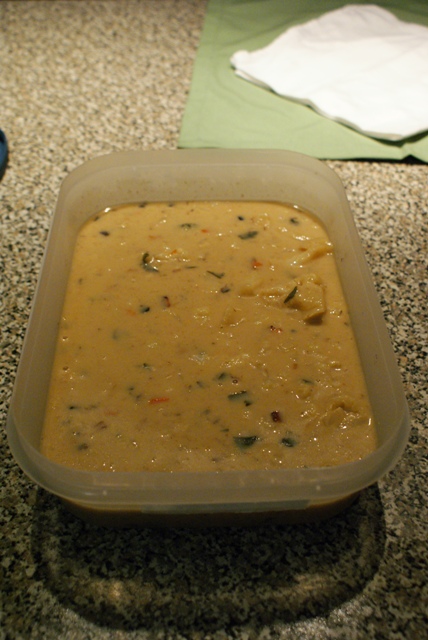
My basic philosophy for soup is that the less you follow the recipe, the better. Much of my cooking inspiration comes from The Joy of Cooking Cookbook (see bookshelf). If there is ever a technique or base for a recipe that I am unsure of, or if I need to use up some veggies in the fridge before they spoil, I know I can always turn to my JCC for enlightment. But again, I don't follow the recipes exactly. What this typically leads to is that I rarely make the same exact thing twice, which lends variety to life; however on occasion it would be nice to know some exact measurements when it turns out just perfectly.
Anyways, back to the soup I made tonight. The recipe that follows is not meant to frustrate you, but instead allow you to adjust the recipe to your own tastes and what you have on hand. It is how I typically make this soup, but certainly is not the "right" way.

Yummy Cauliflower Soup
Onion, chopped (I use approx. 1/2 an onion)
Carrot, chopped
Parsley
Chopped Vegetables (celery, broccoli, leeks, etc., would all be good additions)
Cauliflower, chopped (I used a full head of cauliflower)
Chicken Broth
Butter
Milk
Cream
Flour
In a stock pot, saute onions, carrots and other vegetables in butter, until onions begin to brown. Add in cauliflower and parsley, and with the heat on low, allow all of the veggies to 'sweat'. You'll need to keep the lid on for this and it'll take about 20 minutes. (You can clean up your cutting board and knives while you wait...).
Next add in the chicken broth and bring the whole mixture to a boil, then allow it to simmer for a few minutes while you prepare the roux. I like to melt some butter in a small pot on the stove and then add in 5 or 6 tablespoons of flour (cornstarch in a pinch), stirring constantly. Allow it to brown a bit and then slowly add in a few cups of milk, while stirring. Once this mixture is smooth & hot (it takes some practice to create a good roux and then incorporate the liquids - don't be discouraged if it doesn't work perfectly the first time, and certainly don't throw it out - this soup is beautifully imperfect, and it will all come together in the end).
Next, add a cup or two (depending on your desired creaminess and fat tolerance) of cream to your white sauce and add the whole pot to your simmering soup.
Allow to simmer, stirring occasionally, for about 20 minutes.
You're done!
In our house, soup is used for work lunches and our after-church lunch on sundays (usually with Grilled Cheese - Craig's specialty :). I'll usually dump it all into a large container and put it in the fridge to cool overnight.

The next day, I'll divide the soup into medium sized zip lock bags, wash & dry the container, and then lay the bags flat inside the container. The whole thing is then thrown into the freezer and once frozen, I can take the soups out of the container and fit them into the spaces in the freezer. They also easily fit into a sandwich sized container, into which I can also fit some crackers or shredded cheese if I'd like. The reason for this whole charade is that I'm very afraid of leakage on the way to work, and as well, things in bags just work a whole lot better when you're trying to make a fridgetop freezer stretch to hold make-ahead meals.


No comments:
Post a Comment